Minecraft players have the ability to enhance their gameplay experience by adding texture packs. Texture packs can completely transform the look and feel of the Minecraft world. Here is a step-by-step guide on how to add texture packs to Minecraft, ensuring a seamless installation process.
How to Add Texture Packs to Minecraft?
When it comes to enhancing your Minecraft experience, downloading a texture pack can completely transform the look and feel of the game. But how do you download a texture pack? Let’s walk through the process step by step.
Step 1: Choose a Reputable Website
To begin, you’ll need to visit a reputable website that hosts texture packs for Minecraft. There are plenty of options available, such as Planet Minecraft and CurseForge. These platforms offer a wide range of texture packs to choose from, ensuring you’ll find one that suits your preferences.
Step 2: Locate the Texture Pack
Once you’re on the website, browse through the available texture packs and find one that catches your eye. Most texture packs are provided in ZIP file format, making them easy to download and install. Click on the download button to initiate the process.
Step 3: Check the Pack’s Files
Before proceeding, make sure that the downloaded ZIP file contains the necessary files for Minecraft to recognize it as a resource pack. These files include a ‘pack.mcmeta’ file and an ‘assets’ folder. The ‘pack.mcmeta’ file contains important information about the texture pack, while the ‘assets’ folder houses the textures themselves.
Step 4: Creating Your Own Texture Pack
If you’re feeling creative, you also have the option to create your own texture pack. Simply design your textures using image editing software and save them as PNG files. Once you have all your textures ready, create a new folder and place all the PNG files inside. Finally, compress the folder into a ZIP file, and you’ll have your own custom texture pack ready for installation.
| Steps | Summary |
|---|---|
| Step 1 | Choose a reputable website that hosts texture packs. |
| Step 2 | Locate and download the desired texture pack in ZIP file format. |
| Step 3 | Verify that the downloaded pack contains the necessary ‘pack.mcmeta’ file and ‘assets’ folder. |
| Step 4 | Create your own texture pack by designing custom textures and compressing them into a ZIP file. |
Accessing the Resource Pack Folder in Minecraft
In order to add a downloaded texture pack to Minecraft, players need to access the resource pack folder. The location of this folder varies depending on the operating system:
| Operating System | Location of Resource Pack Folder |
|---|---|
| Windows | %appdata%\.minecraft\resourcepacks |
| GNU/Linux | ~/.minecraft/resourcepacks (This folder may be hidden) |
| macOS | ~/Library/Application Support/minecraft/resourcepacks (This folder may be hidden) |
Once you know the location of the resource pack folder on your specific operating system, you can easily navigate to it and add your downloaded texture pack.
Now that we have accessed the resource pack folder, let’s move on to the next section to learn how to place the texture pack in the folder and apply it in Minecraft.
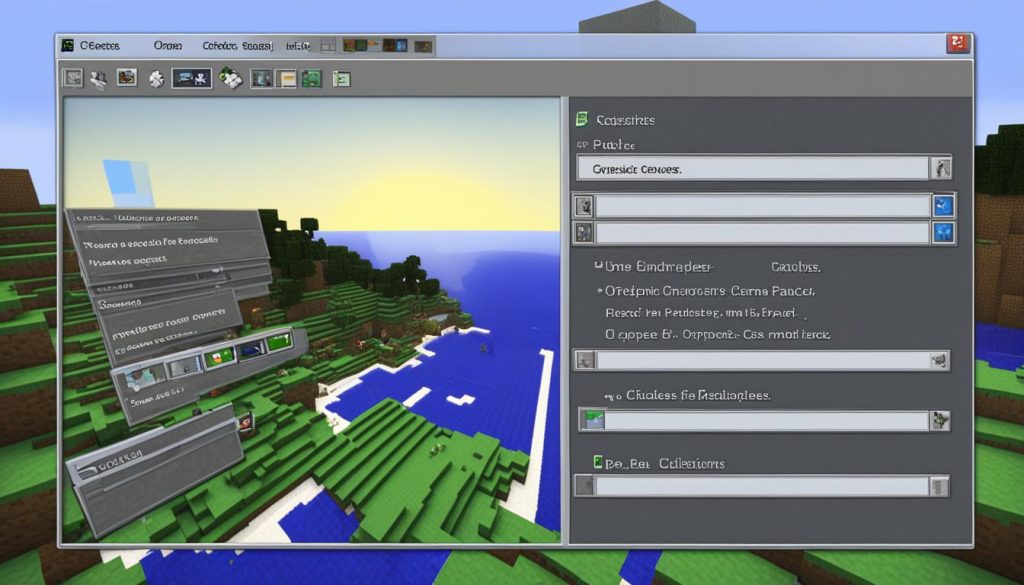
Placing the Texture Pack in the Resource Pack Folder
Once you have successfully opened the resource pack folder in Minecraft, you can proceed with adding the downloaded texture pack to the folder. The process is straightforward and does not require you to close Minecraft.
To place the texture pack in the resource pack folder, simply follow these steps:
- Locate the downloaded texture pack on your computer, typically in the “Downloads” folder.
- Open the resource pack folder in Minecraft.
- Drag and drop the texture pack file from your computer into the resource pack folder.
After placing the texture pack in the folder, you can close the folder and return to Minecraft.
Adding Texture Pack to the Resource Pack Folder – Step by Step:
| Step | Description |
|---|---|
| Step 1 | Locate the downloaded texture pack on your computer |
| Step 2 | Open the resource pack folder in Minecraft |
| Step 3 | Drag and drop the texture pack file into the resource pack folder |
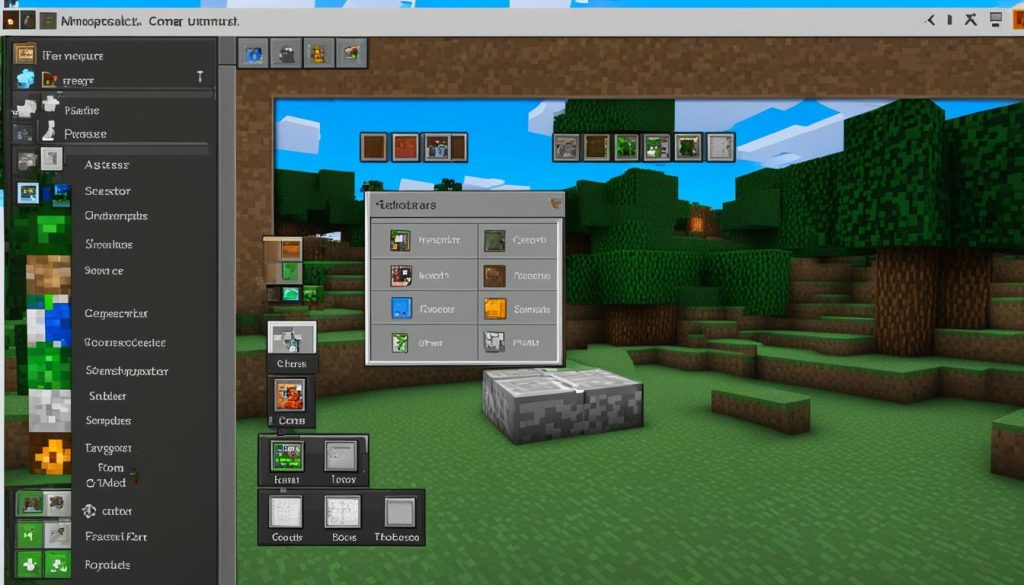
Once you have completed these steps, the texture pack will be successfully placed in the resource pack folder. You can now continue with selecting and applying the texture pack in Minecraft to see the changes reflected in the game.
Selecting and Applying the Texture Pack in Minecraft
Once you have successfully placed your desired texture pack in the resource pack folder, it’s time to select and apply it in Minecraft. Follow these simple steps to complete the process:
- Launch Minecraft and navigate to the main menu.
- Click on “Options” and select “Resource Packs”.
- In the Resource Packs screen, you will see a list of available packs. Locate your texture pack from the list.
- If the texture pack is not visible, click on the “Open Resource Packs Folder” button to verify its placement in the folder.
- Once you find the texture pack, click on it to select it.
- Use the arrow buttons to adjust the placement of the texture pack in the list. A higher position in the list means priority over other packs.
- Click on the “Done” button to apply the selected texture pack.
In some cases, you may need to exit and reopen Minecraft for the changes to take effect. However, most texture packs will be applied immediately after clicking “Done”.
Congratulations! You have successfully selected and applied a texture pack in Minecraft. Now you can enjoy a whole new visual experience as you explore the blocky world of Minecraft.
Troubleshooting Texture Pack Compatibility Issues
Sometimes, a texture pack may not be fully compatible with the version of Minecraft being played. When selecting a texture pack, it’s important to ensure compatibility to avoid any issues. Here are some tips for troubleshooting texture pack compatibility:
Check Compatibility Color
One way to determine the compatibility of a texture pack is by observing its color in the resource packs screen. A red color indicates partial compatibility. In such cases, certain items may not be included in the texture pack, leading to inconsistencies in the game’s visuals.
Selecting Compatible Texture Packs
If a texture pack is not fully compatible, the best solution is to select a compatible texture pack that suits your needs. There are numerous texture packs available online, offering a wide range of options to choose from. By selecting a compatible texture pack, you can ensure a seamless visual experience in Minecraft.
Using the Default Texture Pack
If you’re unable to find a compatible texture pack or prefer to use the default textures, you can always switch back to the default texture pack provided by Minecraft. The default texture pack ensures full compatibility with the current version of the game and eliminates any potential issues.
By troubleshooting texture pack compatibility using these methods, you can enjoy a visually stunning Minecraft experience without any hiccups.

| Problem | Solution |
|---|---|
| Texture pack not fully compatible | Select a compatible texture pack or use the default texture pack |
| Missing items in the texture pack | Choose a texture pack that includes all the desired items |
| Inconsistencies in the game’s visuals | Switch to a compatible texture pack or revert to the default texture pack |
Conclusion
Adding texture packs to Minecraft is a fantastic way to customize the game and elevate the visual experience. With our comprehensive tutorial, players can effortlessly download, install, and apply texture packs to their Minecraft world. The step-by-step guide ensures a seamless process, allowing players to unleash their creativity and truly make Minecraft their own.
When it comes to texture packs, the options are endless. There are numerous resource packs available online, offering a vast array of themes, styles, and designs. From vibrant and realistic textures to whimsical and cartoon-inspired visuals, players can find the perfect texture pack that suits their individual preferences.
By customizing Minecraft with texture packs, players can immerse themselves in a world that reflects their unique style and imagination. Every block, item, and landscape can be transformed, creating a truly personalized gaming experience. Whether you’re a fan of the classics or crave something fresh and innovative, the best texture packs for Minecraft are just a click away.
So, embrace the power of texture packs and let your creativity shine in the Minecraft universe. Explore the vast collection of texture packs available, and embark on a journey of visual delight. With our tutorial and the abundance of texture pack options, you can turn Minecraft into a visually stunning masterpiece that is tailored to your tastes and preferences.

