Deleting games on the Nintendo Switch is a simple process that can help you clear up storage space on your console. Once deleted, the game save data cannot be recovered, so it’s important to be careful when deleting games. You can delete games either by archiving them, which keeps your game saves intact, or by completely deleting them.
In this article, we will guide you through the steps for how to delete game on Nintendo Switch and provide additional tips for managing your storage space effectively.
How to Delete Game on Nintendo Switch?
If you want to completely remove a game from your Nintendo Switch, including the game data and icon from your home menu, you can choose to delete the game. Deleting a game does not delete your save data, so you can still redownload the game and continue where you left off.
To delete a game, follow these simple steps:
- Highlight the game icon on your home menu.
- Press the ‘+’ or ‘-‘ button on your controller.
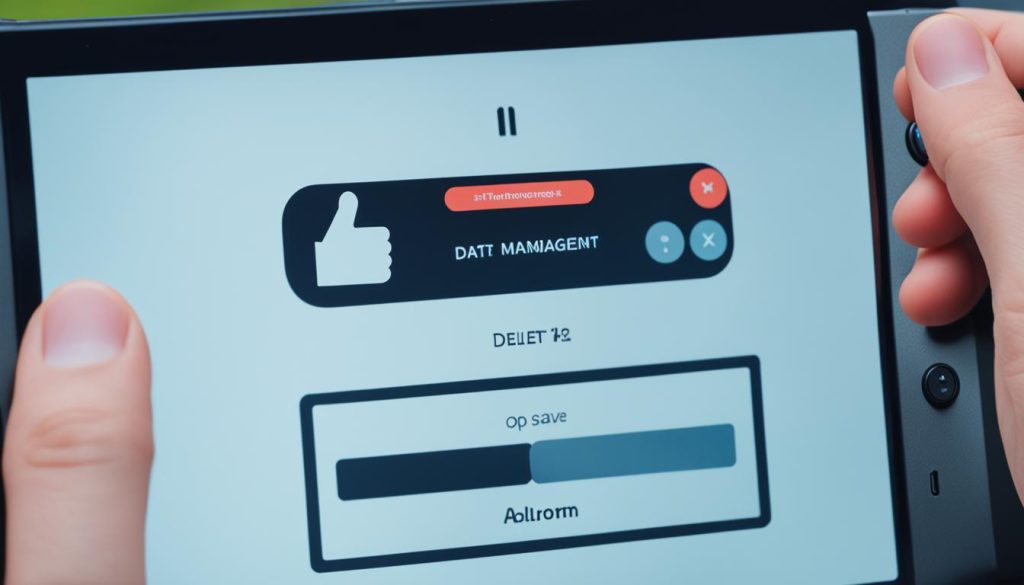
- Navigate to Data Management.
- Select Delete Software.
- Confirm the deletion.
By following these steps, the game icon will be removed from your home menu, freeing up valuable space on your Nintendo Switch. However, it’s important to note that the game can still be redownloaded from the eShop anytime you want to play it again.
Deleting games allows you to manage your storage space effectively and keep your Nintendo Switch organized. Feel free to delete games that you no longer play regularly to make room for new ones.

Deleting a Game on Nintendo Switch: Key Takeaways
- Deleting a game on Nintendo Switch removes the game data and icon from your home menu.
- Deleting a game does not delete your save data, so you can redownload and continue playing the game.
- To delete a game, highlight the game icon, go to Data Management, select Delete Software, and confirm the deletion.
- Remember that deleted games can still be redownloaded from the eShop if you want to play them again.
How to Archive a Game on Nintendo Switch?
Archiving a game on the Nintendo Switch allows you to free up valuable storage space without losing your game saves. By removing the game data from your system while keeping the game icon on your home menu, you can easily redownload the game in the future. Here’s how you can archive a game:
- Highlight the game you want to remove on your home menu.
- Press the ‘+’ or ‘-‘ button on your controller.
- Navigate to Data Management.
- Select Archive Software.
- Confirm the action.

Your save data will not be affected, and the game’s icon will remain on your home menu, indicating that it has been archived. This convenient feature allows you to manage your game library efficiently while preserving your progress. The archive option is particularly useful for games that you may want to come back to in the future without taking up valuable space on your Nintendo Switch.
Archiving vs. Deleting
It’s important to note the difference between archiving and deleting a game on your Nintendo Switch. When you delete a game, both the game data and the game icon are removed from your system. However, by archiving a game, you can remove the game data while keeping the game icon on your home menu. This can be helpful if you want to declutter your system without losing access to specific games.
| Archiving | Deleting |
|---|---|
| Removes game data from the system | Removes game data from the system |
| Retains game icon on the home menu | Removes game icon from the home menu |
| All game saves are preserved | All game saves are preserved |
| Allows for easy redownload in the future | Requires redownload from the eShop |
Archiving games on your Nintendo Switch is a simple and effective way to manage your game library without losing your progress. By following the steps above, you can easily clear up storage space while keeping your favorite games accessible. Consider archiving games that you don’t play frequently to maintain an organized and optimized gaming experience on your Nintendo Switch.
Managing Save Data and Screenshots on Nintendo Switch
The Nintendo Switch provides easy-to-use features for managing your save data and screenshots separately from the games themselves. Whether you need to free up space or organize your gaming experience, these functions offer convenience and flexibility.
Deleting Save Data
To manage save data on your Nintendo Switch, follow these steps:
- Navigate to Data Management on your console.
- Select Manage Save Data/Screenshots from the menu.
- Choose the game for which you want to delete save data.
- Confirm the deletion.
It’s important to note that deleting save data is a permanent action and cannot be restored. Make sure you are certain about deleting the data before proceeding.
Managing Screenshots
In addition to saving your progress, the Nintendo Switch allows you to capture and manage screenshots. Here are some options for managing your screenshots:
- Delete individual screenshots.
- Delete all screenshots at once.
- Change the default save location for screenshots.
To access these features, simply navigate to Data Management and select Manage Save Data/Screenshots. From there, you can choose the specific actions you want to take.
By effectively managing your save data and screenshots on the Nintendo Switch, you can optimize your gaming experience and ensure you have enough space for your favorite games and moments.

| Function | Description |
|---|---|
| Delete Save Data | Permanently delete save data for specific games. |
| Delete Screenshots | Delete individual screenshots or all screenshots at once. |
| Change Save Location | Modify the default save location for screenshots. |
With these management features, you have the power to control your save data and screenshots on the Nintendo Switch, allowing you to make the most of your gaming experience.
Additional Tips for Managing Storage Space on Nintendo Switch
In order to optimize storage space on your Nintendo Switch and ensure you have enough room for all your games, here are some additional tips:
1. Expand Storage with an SD Card
If you find that the internal storage of your Nintendo Switch is getting full, you can easily expand it by inserting an SD card. By default, the console will automatically store downloaded games and screenshots on the SD card, freeing up precious space on the internal storage. This allows you to have more games and media files without worrying about running out of space.
2. Uninstall Games
If you have games that you no longer play or that you have completed, uninstalling them is a great way to free up space on your Nintendo Switch. Simply go to the settings menu, navigate to “Data Management,” select “Delete Software,” and choose the games you want to uninstall. This will remove the game data from your console, but you can always redownload them in the future if you decide to play them again.
3. Delete Screenshots
If you often take screenshots while playing games on your Nintendo Switch, these files can take up a significant amount of storage space. To manage your screenshots, go to the settings menu, navigate to “Data Management,” select “Manage Screenshots,” and delete the ones you no longer need. This will free up space without affecting your game saves or progress.
4. Archive Games
Another way to free up space on your Nintendo Switch is by archiving games that you’re not currently playing. Archiving a game removes it from the internal storage, but keeps the game icon on your home menu for easy access. This allows you to free up space without permanently deleting the game or losing your game saves. To archive a game, highlight the game icon on your home menu, press the ‘+’ or ‘-‘ button on your controller, navigate to “Data Management,” and select “Archive Software.”
5. Manage Storage Regularly
In order to maintain a manageable amount of storage on your Nintendo Switch, it’s important to regularly review and manage your games and files. Take some time to evaluate which games you’re actively playing and which ones you can archive or uninstall. By regularly managing your storage, you can ensure that you have enough space for new games and updates.
By following these additional tips, you can effectively free up space, expand storage, and manage your storage on Nintendo Switch, allowing you to have a seamless gaming experience without worrying about running out of space.

Conclusion
Managing storage space on your Nintendo Switch is crucial for maintaining an organized and optimized gaming experience. By following the steps outlined above, you can easily delete games, archive game data, and manage save data and screenshots. Remember to consider expanding your storage with an SD card if you need additional space. With these tips, you can effectively manage your Nintendo Switch storage and keep enjoying your favorite games.
FAQ
Can I delete a game without losing my save data?
Yes, deleting a game on Nintendo Switch does not delete your save data. You can still redownload the game and continue where you left off.
How do I manage save data and screenshots on Nintendo Switch?
To manage save data on Nintendo Switch, navigate to Data Management, select Manage Save Data/Screenshots, and choose the game for which you want to delete saves. Remember that deleting save data is permanent and cannot be restored. In the same menu, you can manage screenshots by changing the default save location, deleting individual screenshots, or deleting all screenshots at once.
How can I free up space on my Nintendo Switch?
To free up space on your Nintendo Switch, you can consider expanding your storage with an SD card. By default, the console will automatically store downloaded games and screenshots on the SD card if one is inserted. You can also uninstall games or delete screenshots from the settings menu to free up space. Additionally, managing your storage by archiving games you’re not currently playing can help maintain a manageable amount of storage on your console.


