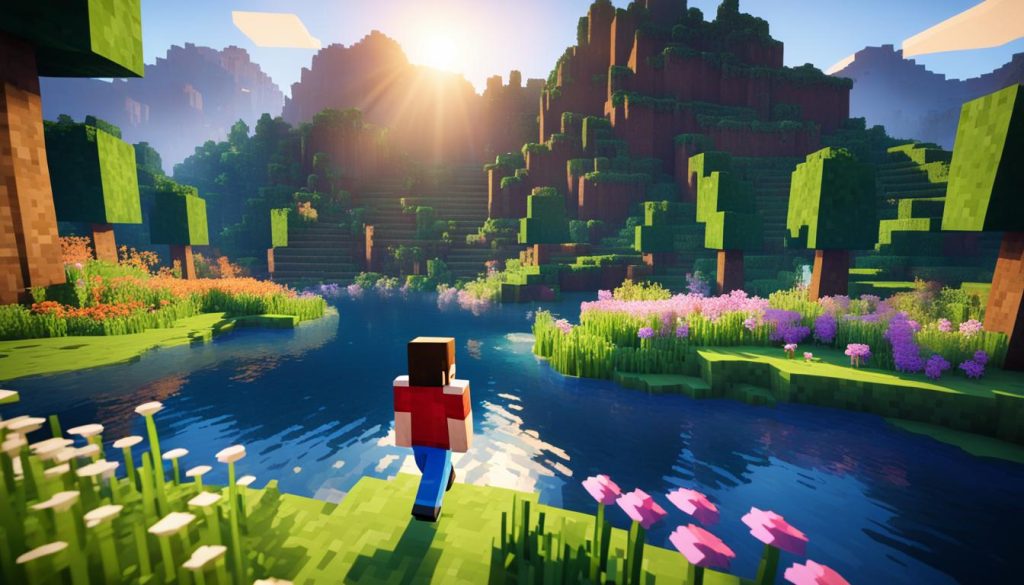
Welcome to our quick guide on how to get shaders on Minecraft. If you’re looking to enhance your Minecraft gaming experience with stunning graphics, shaders are the way to go. In this article, we will provide you with a step-by-step installation guide for adding shaders to your Minecraft game. Whether you’re a seasoned player or new to the game, our guide will help you navigate the process easily.
Before we dive into the installation process, it’s important to note that shaders require OptiFine, a mod that enhances Minecraft’s graphics and performance. You’ll need to update Minecraft and install OptiFine to get started. Follow our instructions in the next section to ensure you have the necessary requirements in place.
Updating Minecraft and Installing OptiFine
Before diving into the world of Minecraft graphics enhancement with shader packs, it’s crucial to ensure that your Minecraft version is up to date. Updating Minecraft is a simple process that will allow you to take full advantage of the latest features and optimizations.
To update Minecraft, follow these steps:
- Launch the Minecraft Launcher.
- Click on the “Installations” tab.
- Select the Minecraft version you want to update.
- Click on the ellipsis (…) next to the selected version.
- Choose “Edit” from the drop-down menu.
- Ensure that the “Version” field is set to the latest release.
- Click “Save” to apply the changes.
Now that you have updated Minecraft, it’s time to install OptiFine. OptiFine is a mod that significantly improves Minecraft’s performance and allows for the addition of shader packs, giving you enhanced graphics and breathtaking visual effects.
To install OptiFine, follow these steps:
- Visit the official OptiFine website at https://optifine.net/.
- Download the latest version of OptiFine compatible with your Minecraft version.
- Once the download is complete, double-click the OptiFine .jar file to launch the installation.
- Click “Install” and wait for the installation process to finish.
- Once the installation is complete, launch the Minecraft Launcher.
- In the “Installations” tab, choose the OptiFine version you installed.
- Click “Play” to start Minecraft with OptiFine.
By updating Minecraft and installing OptiFine, you have laid the foundation for unleashing the full potential of shader packs. Now, let’s move on to the exciting part – choosing and downloading shader packs that will transform your Minecraft experience into a visual masterpiece.
| Benefits of Updating Minecraft and Installing OptiFine |
|---|
| 1. Access to the latest features and optimizations. |
| 2. Improved performance and stability. |
| 3. Compatibility with shader packs and other mods. |
| 4. Enhanced graphics and visual effects. |
Choosing and Downloading Shader Packs
Now that you have installed OptiFine, it’s time to take your Minecraft gaming experience to the next level with shaders. Shaders are graphic modifications that can enhance the visual aesthetics of the game, making it more immersive and breathtaking.
But with so many shader packs available, it can be overwhelming to choose which ones to download. Don’t worry! We have curated a list of the best shaders for Minecraft to help you make an informed decision. These top shaders mods are known for their stunning effects and performance.
Must-Have Shaders for Minecraft
- SEUS (Sonic Ether’s Unbelievable Shaders): SEUS is one of the most popular shader packs, known for its realistic lighting effects and incredible attention to detail.
- Sildur’s Vibrant Shaders: Sildur’s Vibrant Shaders offer a vibrant and colorful visual experience, enhancing the game’s atmosphere and creating a more vivid world.
- Continuum: Continuum provides realistic lighting and shadows, giving Minecraft a cinematic feel. It is a favorite among players looking for a more immersive experience.
- BSL Shaders: BSL Shaders offer a balance between performance and visuals, providing stunning effects while maintaining high FPS (frames per second).
- Chocapic13’s Shaders: Chocapic13’s Shaders are known for their optimization and customization options. They allow you to adjust various settings to suit your personal preferences.
When it comes to downloading shader packs, it’s essential to obtain them from reliable sources to ensure compatibility and safety. We recommend trusted platforms such as CurseForge and MinecraftShader.com. These platforms offer a wide selection of high-quality shader packs and are regularly updated by the modding community.
Remember, before downloading any shader pack, check its compatibility with your Minecraft version and make sure to follow the installation instructions provided by the shader pack’s creator. Now, let’s dive into the mesmerizing world of shaders!

How to Get Shaders on Minecraft?
Once you have successfully downloaded the shader packs, the next step is to install them on Minecraft. This process involves locating the shaders folder, moving the downloaded shader files to the folder, and selecting the shader in the game’s options menu. Follow the step-by-step guide below to install shaders on Minecraft and enhance your gaming experience with stunning visual effects.
Finding the Shaders Folder
Before we begin, make sure you have installed OptiFine as discussed in the previous section. Once OptiFine is installed, follow the steps below:
- Open Minecraft Launcher and select the Installations tab at the top.
- Click on the …more options icon (three horizontal dots) next to the Minecraft version you wish to install shaders on.
- In the Game Directory field, click on the folder icon to open the Minecraft game folder.
- Within the game folder, navigate to the .minecraft directory.
- Locate the shaderpacks folder. If the folder doesn’t exist, create a new folder and name it shaderpacks.
Now that you have found the shaders folder, we can move on to the next step.
Moving Shader Files to the Shaders Folder
Here’s what you need to do to move the downloaded shader files to the shaders folder:
- Open the folder where you downloaded the shader packs.
- Extract the downloaded files if they are in a compressed format (e.g., .zip).
- Copy or cut the extracted shader files.
- Paste the shader files into the shaderpacks folder you located in the previous step.
Congratulations! You have successfully moved the shader files to the shaders folder.
Selecting a Shader in Minecraft
With the shader files in the shaders folder, let’s now select a shader in Minecraft:
- Launch Minecraft Launcher and open the Installations tab.
- Select the Minecraft version you wish to play with shaders.
- Click on the Play button to launch Minecraft.
- In the main menu, click on Options and then select Video Settings.
- Within the Video Settings, click on Shaders to access the shaders menu.
- A list of available shaders will appear. Click on the shader you want to use to select it.
- Finally, click on Done to apply the selected shader.
Well done! You have successfully installed and selected a shader in Minecraft.

In the next section, we will explore the compatibility and requirements of shaders for Minecraft. Understanding these aspects will help you ensure a smooth and optimal experience while using shaders in the game.
Shaders Compatibility and Requirements
In this section, we will explore the compatibility and requirements of shaders for Minecraft. Shaders offer exciting options for enhancing gameplay by providing stunning visual effects and graphics. However, it is crucial to ensure that your system meets the minimum requirements to use these shader packs.
Minimum System Requirements
Before diving into the world of shaders, make sure your computer meets the following minimum system requirements:
- Minecraft: You must have the latest version of Minecraft installed on your system.
- Processor: A dual-core processor (Intel Core i3 or equivalent) is recommended.
- RAM: At least 4GB of RAM is necessary for optimal performance.
- Graphics Card: A dedicated graphics card with at least 1GB of VRAM is recommended. NVIDIA GeForce or AMD Radeon graphics cards are ideal choices.
- Operating System: Ensure that you are running a compatible operating system such as Windows 10, MacOS, or Linux.
- Storage: Minecraft requires a minimum of 4GB of free storage space.
Meeting these requirements will ensure a smooth experience when using shaders in Minecraft and prevent any performance issues.
Shader Compatibility
Shader packs are designed to work with specific versions of Minecraft. It is essential to check the compatibility of the shader pack you wish to use with your Minecraft version. Different shader packs may have different compatibility with mods, resource packs, or specific Minecraft versions.
When selecting a shader pack, refer to the pack documentation or the developer’s website to ensure it is compatible with your Minecraft version. This will help you avoid any potential conflicts or crashes in the game.
Common Issues and Troubleshooting Tips
If you’re facing issues with shaders in Minecraft, don’t worry! We’ve compiled some common problems and their corresponding solutions to help you out:
- Problem: The game crashes after installing shaders.
- Solution: Ensure that you have installed the correct version of OptiFine for your Minecraft version. Some shaders may also require specific graphics card drivers. Updating your drivers to the latest version might resolve the issue.
- Problem: Shaders are not displaying correctly or are glitchy.
- Solution: Try adjusting the shader settings within the game. Lowering the shader quality or disabling certain shader effects can help improve performance and stability.
- Problem: The game becomes laggy or experiences low frame rates with shaders.
- Solution: Shaders can be resource-intensive, especially on lower-end systems. Try reducing your render distance, lowering other graphics settings, or using lightweight shader packs that are optimized for performance.
- Problem: Shaders are not compatible with other mods.
- Solution: Some mods may conflict with shaders and cause compatibility issues. Make sure to check the compatibility of your shader pack with other mods before installing them together.
Conclusion
In conclusion, Minecraft shader packs can significantly enhance the visual experience of the game, allowing players to customize their gameplay with stunning graphics. By following our step-by-step guide to installing Minecraft shaders, you can easily install shaders on Minecraft and elevate your gaming experience to a whole new level.
With the ability to experiment with different shader packs, you can find the one that best suits your preferences, whether you prefer vibrant and colorful visuals or a more realistic and immersive environment. The possibilities are endless, and with each new shader pack, you’ll discover a new way to explore and appreciate the beautiful world of Minecraft.
So why wait? Dive into the world of Minecraft shader packs and start creating your own jaw-dropping landscapes and breathtaking vistas. Immerse yourself in the game like never before and let the power of shaders transform your gaming experience into something truly extraordinary.
FAQ
How do I turn on shaders in Minecraft?
To activate shaders in Minecraft, you will need to install a shader pack. First, make sure your graphics card is up-to-date and then download a shader pack of your choice from a trusted site. Next, go to the options menu in Minecraft and click on Video Settings. From there, select Shaders and then click on Shaders Folder to find where your shader packs are located. Finally, select the desired shader pack and click Done. Your game will now have enhanced visuals with shaders turned on. Enjoy exploring and building in a whole new light!
Do I need OptiFine for shaders?
While OptiFine does offer additional features and improvements for Minecraft players, it is not necessarily required for using shaders. Many shader packs are compatible with the base game, so it ultimately depends on the specific pack you are trying to use. However, OptiFine can enhance your gaming experience by providing better performance and customization options. It is always worth considering for a smoother and more visually stunning gameplay.
How do I start shaders?
To start using shaders in Minecraft, first make sure you have OptiFine installed. Then, go to the Options menu and click on Shader Options. From there, you can select which shader pack you want to use for your game. You can also adjust the settings and customize your shaders to create your desired aesthetic. Whether you want a more realistic look or a vibrant cartoony feel, shaders can enhance your Minecraft gameplay experience.


