Welcome to our Minecraft circle guide! If you’ve ever wondered how to create circles in Minecraft, you’re in the right place. In this tutorial, we will provide you with step-by-step instructions and helpful tips on how to make circle structures in Minecraft. Whether you’re looking to build circular platforms, pools, or any other circular construction, we’ve got you covered.
How to Make a Circle in Minecraft?
Creating circles in Minecraft can be a fun and rewarding experience, but it’s important to understand a few key techniques to ensure your circles look their best. From choosing the right size to placing the center block and adding rows of blocks, we will walk you through the entire process. By the end of this guide, you’ll be a master of circular construction in Minecraft.
So let’s dive in and learn how to make circle shapes in Minecraft. Whether you’re a beginner or an experienced player, you’ll find valuable information and inspiration in this comprehensive Minecraft circle tutorial. Let’s get started!
Deciding on the Size of the Circle
Before embarking on the construction of a circle in Minecraft, one crucial aspect to consider is the size of the circle itself. This involves determining the appropriate height and width of the circle in terms of the blocks placed horizontally and vertically. The scale you choose will greatly influence the final outcome and how closely it resembles a true circle.
For instance, if you opt for a circle that measures 10 blocks by 10 blocks, it will undoubtedly appear larger than a circle that spans only 4 blocks by 4 blocks. It’s important to note that the diameter of the circle plays a significant role in achieving a more authentic circular shape. As a general guideline, it is recommended to ensure that your circle is at least 4 blocks by 4 blocks to avoid it resembling a square rather than a true circle.
By consciously deciding on the size of your circle, you can lay a solid foundation for a visually appealing and accurately shaped structure in Minecraft.
Considerations for Circle Size in Minecraft
- Assess the available space and purpose of the circle to determine an appropriate size.
- Ensure the dimensions are suitable for your desired building project.
- Experiment with different sizes to achieve the desired aesthetic outcome.
- Remember, larger diameters tend to result in circles that closely resemble true circles.
Placing the Center Block and Creating a Plus Sign
Now that you have determined the size of your circle, it’s time to start building it in Minecraft. The first step is to place a block at the center of the circle. If you want your circle to have an odd number of blocks in width, simply place a single block at the center. However, if you prefer an even number of blocks in width, you will need to place 4 blocks in a 2×2 square to ensure symmetry.
This center block serves as the starting point for creating your circle. From this point, you will proceed to create a plus sign using blocks that align with the diameter of your circle. The plus sign will act as the outline for your circle, providing a visual guide for the subsequent steps of the construction process.
To create the plus sign, place blocks horizontally and vertically from the center block to form two intersecting lines. The length of the lines should be equal to the diameter of your circle. This plus sign formation establishes an initial structure that will assist you in achieving the desired circular shape.
Adding Rows of Blocks to Complete the Circle
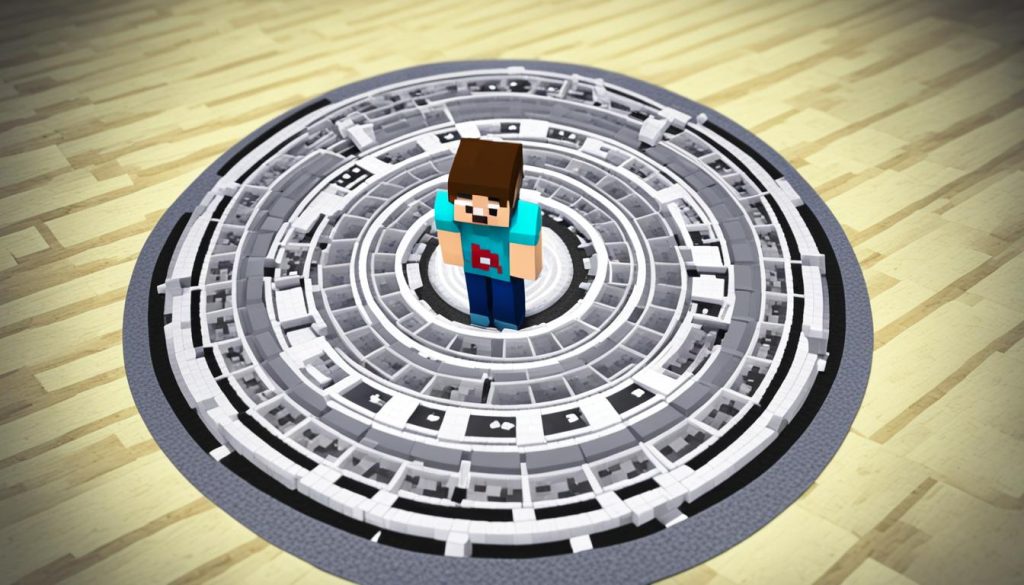
Once you have the plus sign outline of your circle, it’s time to add rows of blocks to complete the circle. This step is crucial in achieving the symmetrical and gradual sloping shape of a circular structure in Minecraft.
Start by adding a row of blocks at the top of each point of the plus sign. The number of blocks in each row will depend on the width of your circle. For smaller circles, the top row will be between 3 and 4 blocks wide, while larger circles may have a top row between 5 and 7 blocks wide.
Gradually continue adding more rows of blocks, placing them catercorner to the previous row and sloping inward. This gradual sloping creates a smooth transition and helps complete the circular shape. Keep in mind that the block placement should be symmetrical on all sides to maintain the integrity of the circular form.
Continue adding rows until they meet in each corner of the circle, forming a seamless and visually appealing circular structure in Minecraft.
Fine-Tuning the Circle and Optional Modifications
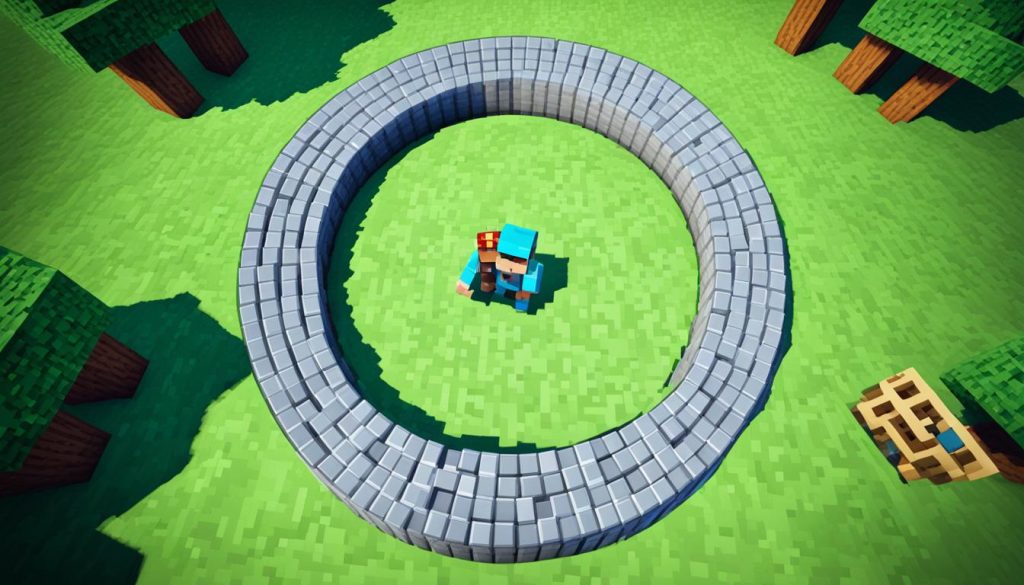
After completing the basic structure of the circle, you may need to fine-tune it and make any necessary modifications to achieve the desired shape. It’s important to pay attention to the details and ensure that your circle looks perfect. Here are a few tips to help you fine-tune and modify your circle:
1. Adjusting the Lengths of Each Row
One way to fine-tune the circle is by adjusting the lengths of each row. Carefully observe the shape of the circle and make any necessary changes to ensure it looks right. You may need to add or remove blocks in specific rows to achieve the desired curvature. Take your time and experiment until you are satisfied with the result.
2. Adding a Second Row of Blocks
If you want to make the circle appear thicker, you can add a second row of blocks behind each block, going all the way around the circle. This will give the circle a more solid and substantial look. It’s a small modification that can make a big difference in the overall appearance of your circle.
3. Deleting the Plus Sign in the Middle
By deleting the plus sign in the middle of the circle, you can achieve a more seamless and continuous look. This modification can help create a smoother and more refined circular shape. Use the appropriate tools in Minecraft to remove the blocks that make up the plus sign, and carefully blend the edges of the circle.
4. Filling in the Entire Circle
If you prefer a solid circle without any gaps or negative space, you can choose to fill in the entire circle with blocks. This modification transforms the circle into a solid shape and gives it a unique aesthetic. Experiment with different block types and colors to add variety and visual interest to your circle.
Fine-tuning and modifying your circle allows you to perfect its shape and appearance. Experiment with different techniques and be creative in customizing your circles to suit your style and preferences in Minecraft.
| Modification | Description |
|---|---|
| Adjusting the Lengths of Each Row | Make changes to the length of each row to achieve the desired curvature and ensure the circle looks right. |
| Adding a Second Row of Blocks | Enhance the visual thickness of the circle by placing a second row of blocks behind each block. |
| Deleting the Plus Sign in the Middle | Remove the plus sign in the middle of the circle to create a seamless and continuous circular shape. |
| Filling in the Entire Circle | Opt for a solid circle by filling in the entire area with blocks, eliminating gaps and negative space. |
Conclusion
In conclusion, creating circles in Minecraft may require some practice and fine-tuning, but with the right techniques, it is achievable. By following the steps outlined in this guide, you can confidently build circles of various sizes and shapes in your Minecraft world.
Remember to experiment with different materials to enhance the visual appeal of your circular structures. Whether you’re constructing a circular platform, a circular pool, or any other circular construction, the tips and tricks discussed in this article will help you achieve the desired results.
So go ahead, unleash your creativity, and start building impressive circular structures in Minecraft. With a little patience and the knowledge gained from this guide, you’ll be able to design and perfect circles that will amaze your friends and fellow Minecraft players.

