Welcome to our Minecraft map-making guide! If you’re wondering how to make a map in Minecraft, you’ve come to the right place. Whether you’re a beginner or an experienced player, creating maps in Minecraft is a fun and exciting way to explore and navigate through your virtual world. In this guide, we’ll walk you through the step-by-step process of making a map and provide you with pro techniques to enhance your map-making skills.
Before we dive into the details, let’s quickly go over the resources you’ll need for map making. To create a map in Minecraft, you’ll need a crafting table and a furnace. Additionally, gathering key resources such as sugar cane, iron ore, redstone, and fuel will be crucial for crafting and customizing your map.
So, if you’re ready to embark on your map-making journey and explore the vast landscapes of Minecraft, let’s get started!
Gathering Resources for Map Making
When it comes to crafting a map in Minecraft, gathering the right resources is crucial. Here are the essential steps and tips to help you get started on your map-making journey.
Gather Sugar Cane near Water
Sugar cane is a key ingredient in map making. You’ll need at least 9 sugar cane to create paper for the map. Search for sugar cane near water bodies, such as rivers and lakes.
Mine Iron Ore with a Stone Pickaxe
Iron ore is another vital resource for crafting maps. You’ll need 4 iron ingots to create a compass, a crucial component of the map. To obtain iron ore, mine it with a stone pickaxe. Don’t forget to smelt the ore in a furnace to obtain the necessary iron bars.
Find Redstone Starting at Layer 16
Redstone is an essential component for multiple Minecraft creations, including maps. You’ll need one pile of redstone to complete the map. Redstone can typically be found starting at layer 16 in the game’s underground caves and mines.
Gather Fuel for Your Furnace
To fuel your furnace and smelt iron ore, you’ll need burnable items such as wood, charcoal, or coal. These resources are readily available in Minecraft’s vast world. You can collect wood from trees or find charcoal and coal while mining in caves.
By gathering sugar cane, iron ore, redstone, and fuel, you’ll have all the necessary resources to begin crafting your map in Minecraft. Remember to explore the world, mine strategically, and collect these resources to unlock the map-making potential!
| Resources | Quantity |
|---|---|
| Sugar Cane | At least 9 |
| Iron Ore | 4 iron ingots |
| Redstone | 1 pile |
| Fuel | Any burnable item |
How to Make a Map in Minecraft?
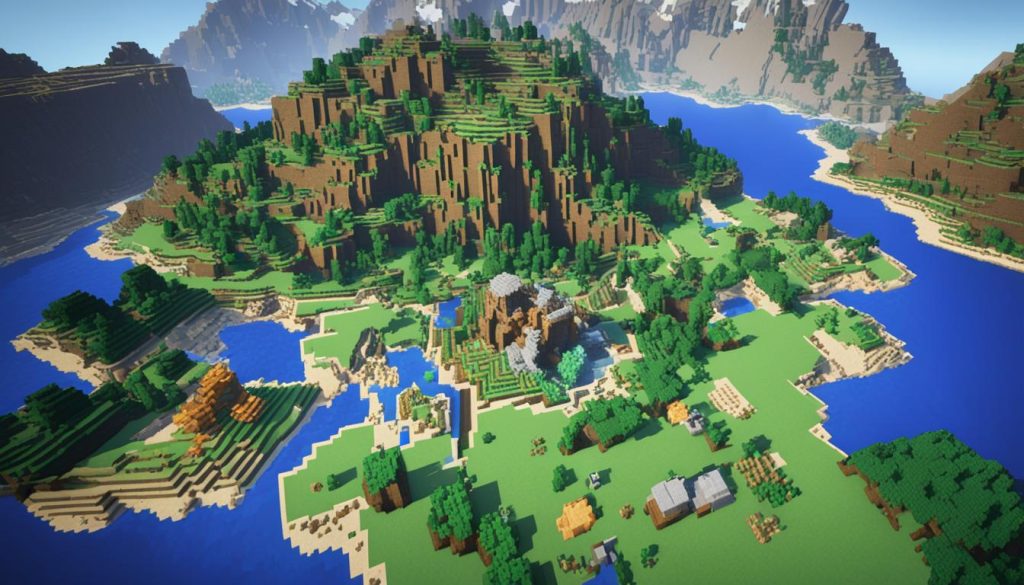
If you want to create a map in Minecraft, you’ll need to follow a simple crafting process. The first step is to gather the necessary materials: a compass and several pieces of paper.
To craft a compass, you’ll need to smelt iron ore in a furnace to obtain iron bars. Here’s a step-by-step guide:
- Find iron ore in your Minecraft world by mining with a stone pickaxe.
- Place the iron ore in a furnace along with a fuel source like wood, charcoal, or coal.
- Wait for the furnace to smelt the iron ore into iron bars.
Once you have the iron bars, you’re ready to craft the compass. Open the crafting table and follow these steps:
- Place four iron bars in a square shape in the crafting grid.
- Drag the compass from the output slot to your inventory.
Now that you have a compass, it’s time to combine it with paper to create the map:
- Gather several pieces of paper by crafting them from sugar cane. You’ll need at least nine pieces.
- Open the crafting table and place the compass in the center slot.
- Surround the compass with paper by placing the pieces around it.
- Drag the map from the output slot to your inventory.
You now have a map crafted and ready to use in Minecraft!
Filling Out the Map
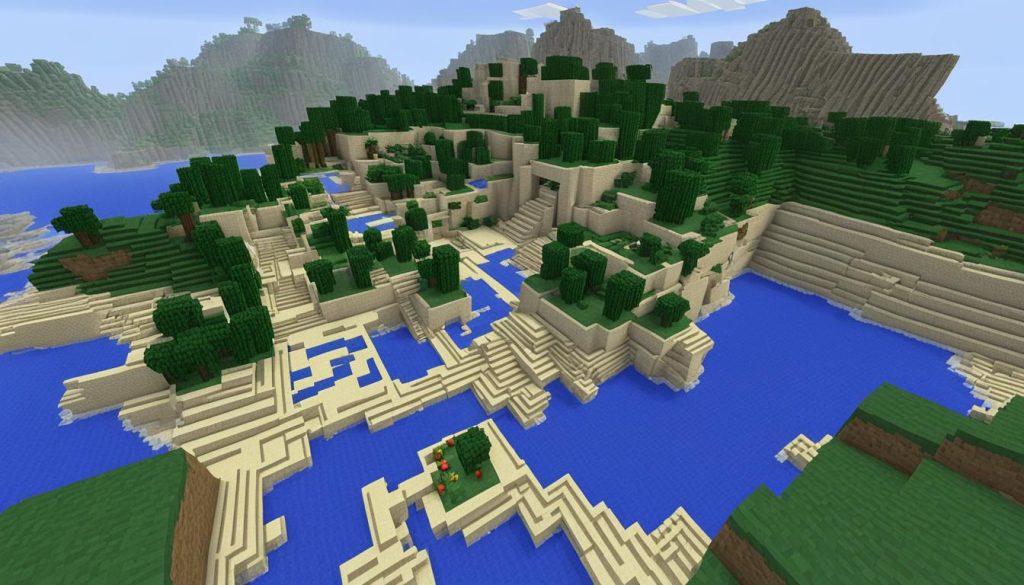
Once you have obtained a map in Minecraft, it’s time to bring it to life by exploring your world. Equipping the map and venturing through different terrains and landmarks will fill it with valuable information.
Remember, you won’t be able to use your own map to uncover hidden treasures. To embark on a treasure hunt, you need to locate treasure maps near shipwrecks in your Minecraft world.
| Benefits of Filling Out the Map | Actions Required |
|---|---|
| Discover the layout of your Minecraft world | Equip the obtained map |
| Identify key landmarks and terrains | Explore different areas |
| Keep track of your own constructions | Build structures and observe their appearance on the map |
Exploring the Map
To fill out your map effectively, it’s important to take a systematic approach to explore your Minecraft world. Start by navigating through uncharted areas and marking essential landmarks, such as villages, caves, and natural formations.
- Equip the map: Hold the map within your character’s inventory
- Walk around: Traverse various biomes, terrains, and structures in your world
- Observe the changes: As you explore, the map will update and showcase discovered areas
- Zoom in and out: Utilize the zoom feature to get a detailed or broader view of your surroundings
By dedicating time to thoroughly explore your Minecraft world with the equipped map, you’ll gain valuable information and enhance your navigation capabilities.
Expanding and Customizing the Map
Once you have crafted a map in Minecraft, you have the opportunity to expand and customize it to suit your needs. Whether you want a larger map or wish to mark specific locations, there are a few methods to achieve these desired enhancements.
Expanding the Map:
If you want to increase the size of your map, you can do so by using the crafting table. Simply place your existing map in the center of the crafting grid and surround it with paper. Each time you repeat this process, the map will expand in size, providing you with a broader perspective of your Minecraft world.
Using the Cartography Table:
Another way to make your maps bigger is by utilizing the cartography table. This specially crafted table allows you to modify maps and unlock additional features. By placing your map in the cartography table along with paper, you can resize and upgrade it, granting you a more detailed and expansive view of your surroundings.
Marking Locations:
If you want to keep track of specific locations on your map, there are a couple of methods that you can employ. One option is to place banners in the world, and when you look at your map, those banners will be marked as icons.
You can also use item frames to mark locations on your map. By placing item frames with items in them, you can reflect those items as icons on your map. This can be useful for identifying significant areas such as your base, farms, or points of interest.
Summary:
Expanding and customizing a map in Minecraft allows you to create a more extensive and personalized exploration experience. Whether you want a larger map or wish to mark specific locations, the crafting table and cartography table provide the means to achieve these enhancements. With the ability to expand your map and mark important areas, you can ensure that your Minecraft adventures are guided by your own path.
Tips and Tricks for Map Making
When it comes to creating maps in Minecraft, there are several tips and tricks that can help you design and customize your maps effectively. Here are some expert suggestions to enhance your map-making skills:
1. Mark the Center of Maps
If you want to ensure that your maps are properly oriented and aligned, consider marking the center of each map with signs and item frames. This will help you keep track of your location and coordinate your exploration.
2. Create Wall-Sized Maps
To showcase larger portions of the Minecraft world, you can create wall-sized maps. Simply place frames on a wall and select different sections of the world to display. This can be a great way to create a visual representation of your Minecraft adventures.
3. Clone Maps with Cartography Table
If you want multiple copies of a map, you can easily clone them using a cartography table. Simply craft an empty map and combine it with an existing map on the cartography table to create a duplicate. This can be useful for sharing maps with friends or creating backup copies.
4. Utilize Banners and Item Frames for Marking
To add custom markers and labels to your maps, consider using banners and item frames. You can place banners or item frames at specific locations on the map to mark important landmarks, bases, or points of interest. This can help you navigate your Minecraft world more efficiently.
If you follow these tips and tricks, you’ll be able to create visually stunning and functional maps in Minecraft. Whether you’re exploring new territories or designing epic adventures for others, map-making is an essential skill for any Minecraft player.
| Tip | Description |
|---|---|
| Mark the Center of Maps | Use signs and item frames to mark the center of each map to keep track of your location. |
| Create Wall-Sized Maps | Display larger portions of the Minecraft world by placing frames on a wall and selecting different sections of the world. |
| Clone Maps with Cartography Table | Create duplicate maps by crafting them with an empty map on a cartography table. |
| Utilize Banners and Item Frames for Marking | Place banners or item frames on the map to mark significant landmarks or points of interest. |
Conclusion
Making a map in Minecraft is an enjoyable and creative process that can enhance your gameplay experience. By following the map-making tips for Minecraft and utilizing the beginner’s guide to Minecraft map creation, you can easily craft and customize your own maps.
Whether you’re a novice or a seasoned player, map making allows you to explore and navigate your Minecraft world with a new level of depth. From marking the terrain to uncovering buried treasures, the possibilities are endless.
With these techniques at your disposal, you can unleash your imagination and bring your Minecraft world to life. So, grab your crafting table, gather the necessary resources, and let your creativity flow. Create unique maps that not only serve as guides but also reflect your personal style and vision. Happy map making!
FAQ
Where can I find the resources for map making?
Sugar cane can be found near water, iron ore can be mined with a stone pickaxe, redstone can be found starting at layer 16, and fuel can be any burnable item like wood, charcoal, or coal.
Can you provide a beginner’s guide to Minecraft map creation?
Absolutely! Follow the steps outlined in this guide, gather the necessary resources, craft your map, and explore your world. Map creation allows you to navigate your Minecraft world and adds a new level of depth to your gameplay experience.
How to make a map in Minecraft with a cartography table?
First, gather all the materials you will need for the map: paper, a compass, and a cartography table. Then, place the cartography table on the ground and right-click on it to open the crafting menu. Place a piece of paper in the bottom slot and your map will appear in the top slot. To expand or zoom in on your map, add more paper to the bottom slot and click “craft.” To give your map a title, add a sign to the cartography table before crafting. Now, you have a fully functional map that will help you navigate through your Minecraft world with ease!
How to make a map in Minecraft without a compass?
There are actually a few different methods for creating a map in Minecraft without using a compass. One option is to use an item called the Cartography Table, which allows you to create and enlarge maps without needing a compass. Another method is to find and collect treasure maps from underwater ruins or shipwrecks, which will reveal the location of a buried treasure chest that contains a map. Lastly, if you have access to command blocks, you can use commands to create fully explored maps. Whichever method you choose, you’ll be able to navigate through your Minecraft world without needing a compass.

