In Minecraft, a shield is a defensive item that can protect players against attacks. Crafting a shield requires specific materials and follows a step-by-step process. Whether you’re a beginner or a seasoned player, this simple guide will walk you through the process of making a shield in Minecraft.
To create a shield in Minecraft, you will need to gather the necessary materials and follow the crafting process. This guide will provide you with easy-to-follow instructions, allowing you to quickly create a shield and enhance your gameplay.
By learning how to make a shield, you can defend yourself against enemies and survive in the challenging world of Minecraft. So, let’s dive in and discover the steps to create your shield!
Materials Needed to Make a Shield
When it comes to crafting a shield in Minecraft, you only need a few materials. To ensure a successful crafting process, make sure you have the following items:
| Materials | Quantity |
|---|---|
| Iron Ingot | 1 |
| Wood Planks (any type) | 6 |
With these materials in hand, you’re ready to embark on the journey of creating your own shield in Minecraft.
Now that you know what materials you need, let’s move on to the step-by-step process of crafting a shield in survival mode. But before that, don’t forget to gather the necessary resources.
How to Make a Shield in Minecraft? – Survival Mode
Follow these steps to create a shield in survival mode in Minecraft:
Step 1: Open the Crafting Menu
To begin crafting a shield, open your crafting menu by right-clicking on a crafting table or pressing the right button on a controller. This will bring up a 3×3 grid.
Step 2: Add Items to Make a Shield
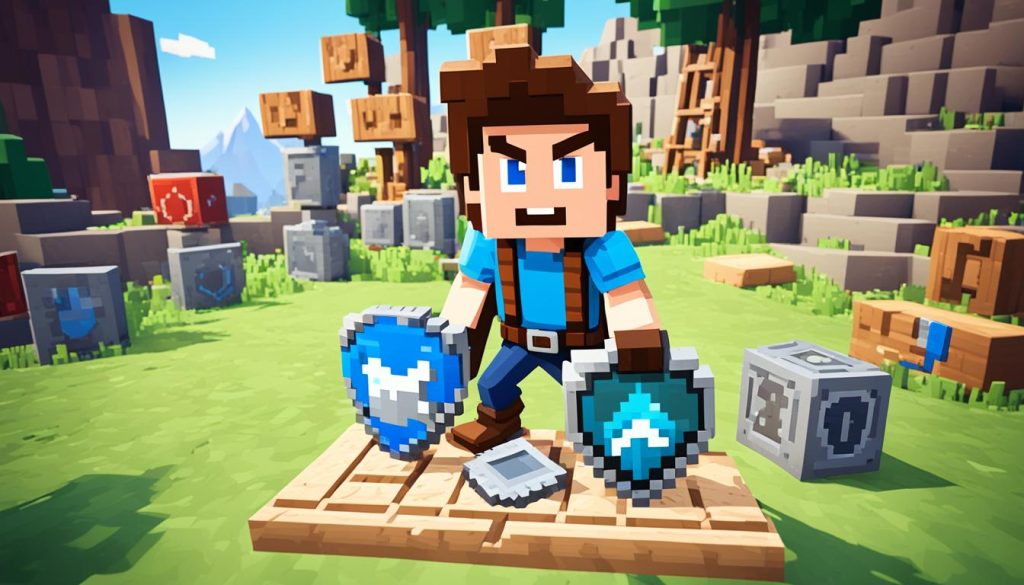
Now, it’s time to gather the necessary materials needed to create a shield. Place 1 iron ingot and 6 wood planks in the crafting grid, as shown below:
Step 3: Move the Shield to Your Inventory
Once you’ve placed the iron ingot and wood planks in the correct pattern, a shield will appear in the result box. Simply drag the shield into your inventory to complete the crafting process.
Congratulations! You have successfully crafted a shield in survival mode. Now, you can use this essential defensive item to protect yourself from various threats and enemies in the world of Minecraft.
Customizing Your Shield
After creating a shield in Minecraft, you can unleash your creativity and customize it with unique designs. Personalize your shield with patterns, stripes, and colors to make it truly your own. Follow these simple steps to bring your shield designs to life:
Step 1: Open the Crafting Menu
Start by opening the crafting menu in your Minecraft game. This will be your workspace where you can combine different items to customize your shield.
Step 2: Place a Banner and a Shield on the Crafting Table
Next, gather a banner and the shield you want to customize. Place them both on the crafting table.
Step 3: Craft the Custom Design
Experiment with different banner patterns, colors, and shields to create unique designs. Combine the banner and shield in the crafting menu to craft your custom shield.
Some Minecraft Shield Design Ideas
Looking for inspiration? Check out these Minecraft shield design ideas to get your creative juices flowing:
| Design | Description |
|---|---|
| Classic Diamond Pattern | Recreate the iconic diamond pattern on your shield for a timeless look. |
| Animal Motifs | Add animal motifs such as wolves, dragons, or pandas to showcase your favorite creatures on your shield. |
| Gradient Shades | Create a gradient effect by using different colors on your shield for a vibrant and eye-catching design. |
| Personalized Symbols | Include your own symbols or initials on your shield to give it a personal touch. |
With these design ideas and your imagination, you can craft a shield that stands out and reflects your unique style in the Minecraft world.
Conclusion
Crafting a shield in Minecraft is an essential skill for survival. By following this beginner’s guide to making a shield in Minecraft, you can easily create a powerful defensive item to protect yourself from enemy attacks.
Remember to gather the required materials, including 1 iron ingot and 6 wood planks, to craft your shield. The step-by-step instructions provided in this guide will help you navigate the crafting process with ease.
Furthermore, don’t forget to unleash your creativity by customizing your shield. Experiment with different designs, patterns, and colors using banners to add a personal touch to your gameplay. These shield crafting tips for Minecraft will help you stand out while defending yourself.
FAQ
What is the purpose of a shield in Minecraft?
A shield is a defensive item that players can use to protect themselves from attacks, such as those from hostile mobs or other players. It absorbs damage and can block incoming projectiles.
Can I customize my shield in Minecraft?
Yes! You can customize your shield using banners. To do this, place a banner and your shield in the crafting table to apply unique designs and patterns to your shield.
Are there any specific patterns or colors I should use for designing my shield?
You can use any combination of banner patterns and colors that you like. Experiment with different designs to find what best reflects your style!
Can I use a shield in conjunction with other weapons?
Yes, you can use a shield alongside a weapon. Typically, players will hold a shield in one hand and a sword or another tool in the other for balanced combat.
Will using a shield consume durability?
Yes, shields have durability and will take damage when they block attacks. If a shield’s durability reaches zero, it will break and will need to be repaired or replaced.
How can I repair a shield?
To repair a shield, you can use an anvil and combine it with either another shield or use additional wood planks to regain some of its durability.
Can shields be used to block all types of attacks?
Shields can block most attacks, including melee attacks and arrows. However, they do not block all types of damage, such as damage from explosions or certain abilities (e.g., fireballs from ghasts).

