Welcome to our easy guide on how to make a sign in Minecraft! Whether you want to label your creations, leave messages for other players, or decorate your virtual world, making a sign is a simple and essential skill. In this step-by-step tutorial, we’ll show you the crafting recipe and provide helpful tips to enhance your sign-making abilities. Let’s get started!
How to Make a Sign in Minecraft? – Step-by-Step Guide
Follow these steps to create signs in Minecraft. First, open your crafting table to access the 3×3 grid. Next, fill the top two rows of the crafting grid with wooden planks. Finally, place a stick in the center of the bottom row. This crafting recipe will allow you to make 3 signs. Once crafted, the signs can be placed and edited as needed.
Step 1: Open the Crafting Table
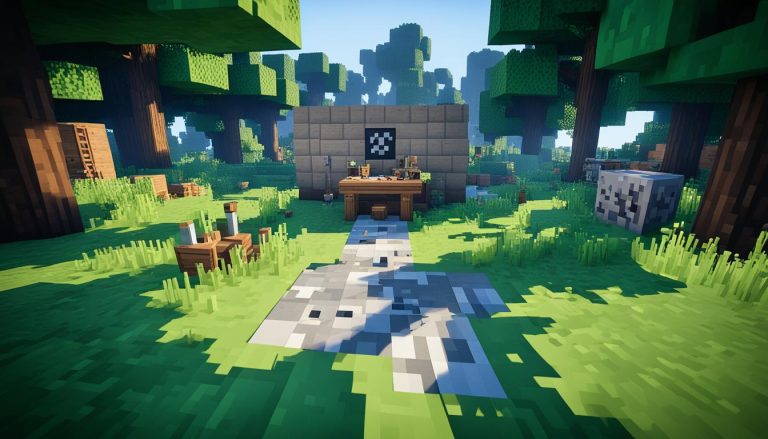
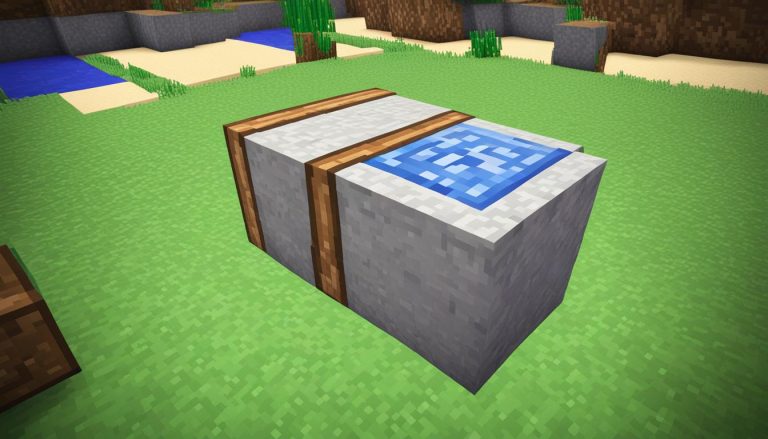
As shown in the image, start by opening your crafting table. This will give you access to the 3×3 grid where you can combine different items to create new ones.
Step 2: Gather Wooden Planks
To create a sign, you will need wooden planks. You can obtain wooden planks by crafting them using logs of any type of wood. Place the logs in any empty slot of the crafting grid, and you will get four wooden planks. Repeat this process until you have enough wooden planks to fill the top two rows of the crafting grid.
Step 3: Fill the Crafting Grid
Take the wooden planks you gathered in the previous step and fill the top two rows of the crafting grid with them. This will form the body of the sign.
Step 4: Add the Stick
Now, place a stick in the center slot of the bottom row of the crafting grid. The stick will act as the support for the sign.
Step 5: Craft the Signs
Once you have filled the crafting grid with the required items, you will see 3 signs appear on the right side of the crafting table. Simply click on the signs and drag them into your inventory.
Now that you have learned the step-by-step process of making signs in Minecraft, you can start creating and placing signs to enhance your gameplay experience. Whether it’s for labeling your buildings, leaving messages, or adding decorative elements, signs are a versatile tool in Minecraft.
Different Sign Types in Minecraft
In Minecraft, there are several sign types that you can utilize to enhance your gameplay. Each sign type serves a unique purpose and allows you to communicate, label your creations, or add decorative elements to your world. Let’s explore some of the different sign types and instructions for creating them.
Basic Sign
The basic sign is a versatile tool that you can use to label your creations or leave messages for other players. It’s easy to make and provides a simple way to communicate in the game. To create a basic sign, follow these instructions:
- Gather six wooden planks in your inventory.
- Open the crafting table and place the wooden planks in the top two rows of the 3×3 grid.
- Add a stick in the bottom middle slot of the crafting table.
- Once crafted, click on the sign and drag it to your inventory.
Hanging Sign
If you want to add a unique touch to your Minecraft world, you can create hanging signs. These signs can be suspended from blocks or ceilings, adding a decorative element to your builds. To create a hanging sign, follow these instructions:
- Craft a basic sign using the instructions mentioned above.
- Place the sign on a wall or any other solid block.
- Attach a string or lead to the sign, allowing it to hang freely.
Glow Sign
Add a touch of luminescence to your signs with glow signs. These signs emit a soft glow and can be a great addition to your builds, especially during nighttime or in dark areas. To create a glow sign, follow these instructions:
- Craft a basic sign using the instructions mentioned above.
- Obtain glow ink sacs by defeating glow squids in the game.
- Open the crafting table and combine the sign with the glow ink sacs.
- Once crafted, click on the glow sign and drag it to your inventory.
Experiment with these different sign types to add variety and creativity to your Minecraft world. Whether you need to label your buildings, communicate with other players, or simply add decorative elements, signs are a valuable tool at your disposal.
Now that you know how to create different sign types in Minecraft, it’s time to start crafting and exploring the endless possibilities they offer. Have fun customizing your world and expressing your creativity through signs!
Tips for Making Signs in Minecraft
Here are some helpful tips for making signs in Minecraft that will enhance your sign-making abilities and add a personalized touch to your virtual world.
Creating Hanging Signs
To make a hanging sign in Minecraft, simply follow these steps:
- Place the sign on a wall where you want it to hang.
- Attach a string or lead to the sign by right-clicking on it with the string or lead in hand.
- The sign will now hang from the wall, creating a unique decorative element.
Experiment with different heights and placement to achieve the desired effect for your hanging sign.
Making Glow Signs
If you want to make your sign glow in Minecraft, here’s what you need to do:
- Combine the crafted sign with glow ink sacs in the crafting table.
- The resulting sign will emit a soft glow, making it visible even in dark areas.
- Use glow signs to highlight important locations or create a mystical atmosphere in your Minecraft world.
Writing on Signs
To write on a sign in Minecraft and add your desired message, simply follow these steps:
- Right-click on the sign with the text box open.
- A text box will appear, allowing you to type in your message.
- Once you’ve finished writing, press Enter to save the text on the sign.
This feature is useful for labeling your creations, leaving messages for other players, or adding decorative elements to your Minecraft world.
Remember to be creative and have fun with your sign-making endeavors in Minecraft!
Beginner’s Guide to Making Signs in Minecraft
If you’re new to Minecraft, this beginner’s guide will walk you through the process of creating wooden signs. Signage is a useful tool for labelling your buildings, leaving messages for other players, and adding a personal touch to your Minecraft world. With a few simple steps, you’ll be on your way to mastering sign creation in no time.
Gathering Materials
Before you can start making signs, you’ll need to gather the necessary materials. Start by collecting wooden planks and a stick. Wooden planks can be obtained by chopping down trees. Use your crafting table to convert the wood into planks. A crafting table is created by arranging four wooden planks in a square shape on your inventory crafting grid. Once you have the planks and stick, you’re ready to move on to the next step.
Creating the Signs
Now that you have the materials, it’s time to create the signs. Open your crafting table to access the 3×3 crafting grid. Place the wooden planks in the top two rows of the grid, filling all six slots. Then, place the stick in the center slot of the bottom row. The crafting table will automatically combine the materials and create three signs.
Using the Signs
Once you’ve crafted the signs, they will appear in your inventory. To place a sign in the game, right-click on the desired surface. Signs can be attached to walls, fences, or even other blocks, allowing you to easily label your buildings or create unique message boards. To edit the sign, simply right-click on it, and a text box will appear where you can enter your desired message. Experiment with different techniques and designs to make your signs more creative and eye-catching.
Best Techniques for Sign Creation
When it comes to creating signs in Minecraft, there are a few techniques that can help you elevate your sign-making skills. Here are some tips:
- Experiment with colours: Combine different types of wood to create signs with unique colours. This can add visual interest to your builds.
- Use contrasting text: Choose a font colour that contrasts well with the sign’s background to ensure readability.
- Add decorative elements: Use other materials, such as banners or item frames, to add decorative elements to your signs.
- Try different fonts: Use a variety of lettering styles to give your signs a personalized touch. You can experiment with uppercase, lowercase, and even different symbols.
With these tips in mind, you’ll be well-equipped to create impressive signs in Minecraft. Let your creativity flow and have fun customizing your virtual world!
Placing Signs in Minecraft
Once you have crafted a sign in Minecraft, it’s time to place it in your virtual world. Placing a sign is a straightforward process that allows you to communicate, label, and decorate your creations. To ensure you make the most of your signs, follow these helpful tips and tricks:
1. Right-Click to Place
To place a sign, simply right-click on the desired surface. Signs in Minecraft can be attached to various blocks, including walls, fences, and even other blocks. This versatility allows you to customize the placement of your signs according to your specific needs and preferences.
2. Choose the Right Location
When placing a sign, consider its visibility and accessibility. Position it in a location that is easily noticeable and reachable. This will ensure that other players can read and interact with your signs effectively. Whether it’s guiding players through your world or leaving important messages, strategic sign placement is key.
3. Rotate and Realign
Minecraft offers the flexibility to rotate and realign signs with other blocks. If you want to rotate a sign, simply right-click on it with a different block in hand. This will change its orientation and allow you to tilt it in the desired direction. Experiment with different angles and alignments to achieve the perfect positioning for your signs.
By following these sign-making tips and techniques, you can effectively place and position signs in your Minecraft world. Make your creations stand out, guide fellow players, and enhance the overall experience of your in-game world with carefully crafted and strategically placed signs.
With the ability to place signs on various surfaces and manipulate their orientation, you have the power to create informative and visually appealing sign displays in Minecraft. Take advantage of these sign-making tips to make the most of this versatile feature in your virtual adventures.
Conclusion
Making signs in Minecraft is a simple process that allows you to label your creations, communicate with other players, and decorate your virtual world. By following the step-by-step guide and experimenting with different sign types and techniques, you can add a personalized touch to your Minecraft experience.
Whether you’re using signs to mark important locations, leave messages for other players, or add some flair to your buildings, the possibilities are endless. The sign-making process is straightforward, requiring only a few basic materials and a crafting table. Once you have crafted your signs, you can easily place them and edit them as needed.
Remember to get creative and have fun with your sign-making endeavors. Express your personality and style through the messages you write and the designs you choose. Let your imagination run wild and create a unique Minecraft world that reflects your creativity. Start making signs today and enhance your gameplay experience!

