Did you know that in the digital era, the average Briton spends a staggering 3.5 hours per day watching television? Now, imagine being able to create your own TV right inside the virtual world of Minecraft. This article provides a comprehensive, step-by-step guide on how to build a functional, redstone-powered TV within the popular game, covering everything from the necessary materials to advanced design techniques.
Whether you’re a seasoned Minecraft veteran or a newcomer to the game, this tutorial will walk you through the process of crafting a television in Minecraft, including how to construct the TV frame, set up the pistons, create the screen, and even build a remote control. We’ll also explore more advanced TV designs, such as multi-screen TVs, moving TV screens, and command block-powered TVs, so you can unleash your creativity and build the ultimate entertainment system within your Minecraft world.
So, if you’re ready to bring the magic of television to your Minecraft universe, read on and discover how to make a TV in Minecraft with ease. This guide will have you immersed in a world of virtual entertainment in no time!
How to Make a TV in Minecraft?
This section summarises the key steps covered so far in the tutorial on how to build a functional, redstone-powered TV within Minecraft:
- Start a game in Creative mode.
- Select the necessary items for your TV.
- Create a wall for the TV.
- Make a hole in the wall for your TV.
- Place two pistons in the hole.
- Place redstone repeaters below and behind the pistons.
- Place redstone torches behind each repeater.
- Place redstone lamps behind the pistons.
- Place a painting on the left piston.
By following these steps, players can construct a basic, yet functional, redstone-powered TV setup in their Minecraft world. The next sections will explore more advanced TV designs and customisation options to truly make the TV your own.
Selecting the Necessary Materials
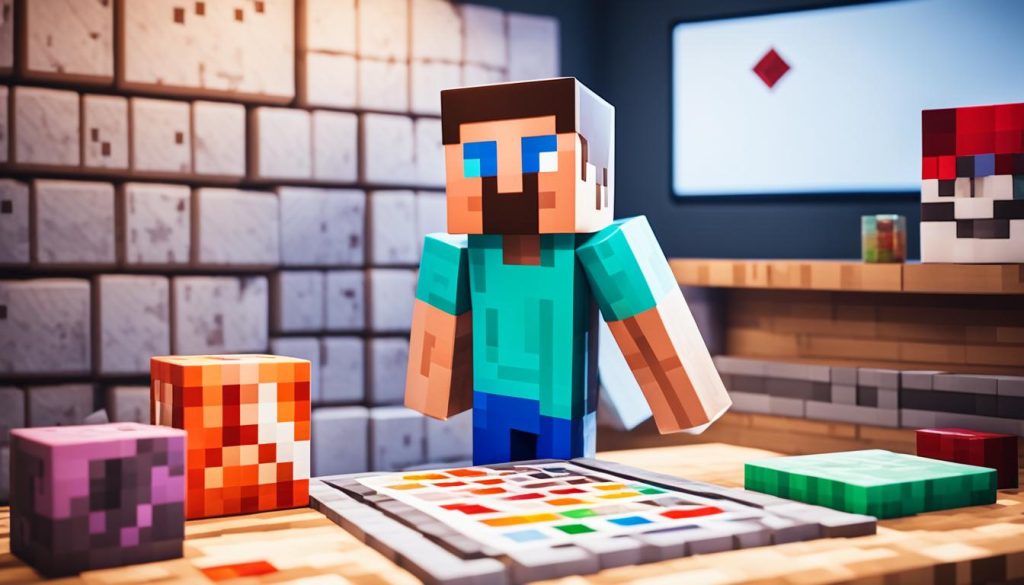
To construct a functional television in Minecraft, players will need to gather a variety of materials from the creative menu. These essential components can be divided into three main categories: building blocks, redstone components, and decorative items.
Building Blocks
The foundational structure of the television set will require a durable building material, such as cobblestone, stone, or bricks. These blocks will be used to create the wall and frame for the television display.
Redstone Components
The television’s internal mechanisms will rely on several redstone-powered elements, including pistons, redstone, redstone repeaters, and redstone lamps. These components will enable the screen to function and allow for the creation of a remote control.
Decorative Items
To enhance the television’s aesthetic appeal, players should also gather a lever and a painting. The lever will serve as the remote control, while the painting will be used to create the television screen.
By carefully selecting and arranging these materials, players can construct a visually appealing and fully functional television set within their Minecraft world.
Constructing the TV Frame
To begin crafting the television in Minecraft, players must first focus on constructing the frame that will house the screen. This crucial step lays the foundation for the entire project, so it’s important to get it right.
Choosing the Location
The initial decision is where to place the television. Players should select a suitable location, such as an existing structure or an underground basement area, that will provide a stable and visually appealing setting for their creation.
Building the Wall
With the location chosen, the next step is to create a 4×4 wall of blocks to serve as the foundation for the television. This sturdy framework will provide the necessary support and structure to house the TV’s components.
Creating the Screen Opening
To accommodate the television screen, players should make a 2-block wide and 1-block tall hole in the centre of the wall. This opening will allow the screen to be visible and accessible, setting the stage for the next phase of the construction process.
Setting Up the Pistons
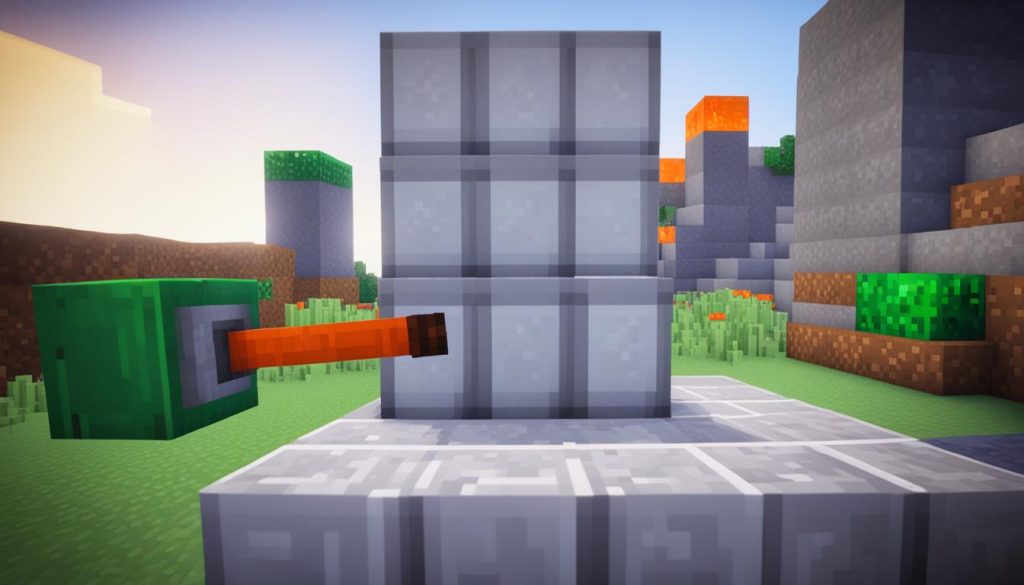
To begin the process of constructing the television screen, players should carefully place two pistons side-by-side within the wall opening they have created. These pistons should be facing the desired direction of the TV screen, ready to facilitate the display.
Positioning the Pistons
The guide explains that players should take care to position the two pistons precisely in the wall opening, ensuring they are aligned side-by-side and facing the correct direction. This is a crucial step, as the proper placement of the pistons will directly impact the functionality and appearance of the TV screen.
Placing the Redstone Repeaters
Next, the tutorial instructs players to place a redstone repeater one block below and one block behind each piston. These repeaters will serve to power the pistons, providing the necessary redstone signal to activate them.
Activating the Pistons
Finally, by placing a redstone torch directly behind each repeater, the guide explains that the pistons will be activated and ready to function as the core of the TV screen. This simple yet effective setup will allow the players to continue building and enhancing the television within their Minecraft world.
Creating the Screen
To bring the TV to life, players must focus on crafting the screen itself. This crucial step involves harnessing the power of redstone lamps and a strategically placed painting to create a visually captivating display.
Installing the Redstone Lamps
The tutorial advises players to place two redstone lamps directly behind the pistons that form the wall opening. These lamps will serve as the “backlight” for the TV screen, providing the necessary illumination to make the display visible and vibrant.
Adding the Painting
The final touch in creating the TV screen is to select a painting from the player’s inventory and place it on the left piston, covering both pistons. This painting will act as the display, forming the visual elements that viewers will see when the TV is activated.
Crafting the Remote Control
To create a remote control for the television, the guide instructs players to place a lever on the ground in front of the TV. From there, they can begin building the necessary redstone circuit to power the display.
Positioning the Lever
The first step is to strategically position the lever in relation to the TV setup. The lever should be placed on the ground directly in front of the television, within easy reach for the player. This will allow them to conveniently turn the TV on and off with a simple flick of the lever.
Building the Redstone Circuit
Next, the player must construct a redstone circuit that connects the lever to the redstone lamps powering the TV screen. They should build a “staircase” of blocks leading up to one of the redstone lamps, then create a trail of redstone dust from the lever to the top of the staircase, connecting it to the lamp. This redstone circuit will enable the lever to control the activation of the TV.
Testing the Remote
Once the lever and redstone circuit are in place, the player should test the remote control functionality. By flipping the lever, they should observe the redstone lamps turning on and off, indicating that the TV is responding to the remote’s input. This simple yet effective remote control allows for convenient operation of the television from a distance.
Enhancing the TV Setup
To further refine the appearance of the television, the tutorial recommends a few additional steps that can elevate the overall aesthetic. By taking these measures, players can transform their Minecraft TV into a more polished and immersive entertainment system.
Enclosing the Back
One effective way to enhance the TV’s look is to build a box-like structure around the back of the setup. This will enclose the exposed redstone components and wiring, creating a more streamlined and finished appearance. Players can use a variety of building materials, such as wood, stone, or even glass, to construct this enclosure, ensuring it seamlessly blends with the rest of the TV’s design.
Hiding the Wiring
In addition to enclosing the back, players can also focus on concealing the redstone wiring that connects the various components of the TV. This can be achieved by strategically routing the wiring through the walls or behind the TV frame, keeping it out of sight and creating a more polished, professional-looking setup.
Adding a Frame
To further elevate the TV’s appearance, the tutorial suggests adding a decorative frame around the screen. This can be constructed using a different building material, such as a contrasting type of wood or a metallic block, to create a more pronounced visual separation between the TV and the surrounding environment. The frame can also incorporate additional design elements, such as carved patterns or even glowing accents, to truly make the TV stand out as a centrepiece in the room.
Decorating the Room
To truly immerse players in the television experience, the guide recommends adding several decorative elements to the TV room. This includes installing speakers, furnishing the space, and lighting the area to create a cosy and inviting atmosphere.
Installing Speakers
By placing jukeboxes strategically around the television, players can add realistic-sounding speakers to their setup. This enhances the audio experience and helps to make the TV feel more like a true entertainment system.
Adding Furniture
To complete the living room ambiance, the tutorial suggests adding comfortable furniture such as couches or armchairs. End tables, shelving units, and other decorative pieces can also be incorporated to make the space feel more lived-in and homely.
Lighting the Room
Lastly, the guide recommends using a warm light source, such as glowstone, to illuminate the TV room. This subtle lighting will help to create a cosy and inviting atmosphere, perfect for enjoying the custom-built television.
Finishing Touches
To truly make your Minecraft TV stand out, the tutorial suggests exploring ways to further customise the display and lighting. By experimenting with different paintings for the screen or adjusting the redstone signal to the lamps, players can add a personal touch and fine-tune the aesthetics of their creation.
Customising the Painting
The painting placed on the left piston serves as the TV screen, but players are not limited to a single option. The guide encourages trying out various paintings from the game’s extensive collection to find the one that best suits the desired atmosphere or theme of the room. From serene landscapes to abstract art, the possibilities are endless for crafting a unique and visually appealing TV display.
Adjusting the Redstone Signal
In addition to the painting, players can also tweak the brightness of the TV screen by manipulating the redstone signal powering the lamps behind the pistons. By fine-tuning the placement and configuration of the redstone repeaters, players can control the intensity of the backlight, creating a dimmer or brighter TV display as per their preferences. This level of customisation allows for greater creative control and the ability to seamlessly integrate the TV into the overall ambience of the room.
Advanced TV Designs
While the basic TV design outlined in this guide provides a solid foundation for creating a functional entertainment system in Minecraft, the game’s vast array of blocks and redstone components offer opportunities to explore more advanced TV configurations. Let’s delve into some of the captivating possibilities players can consider.
Multi-screen TVs
One intriguing approach is to construct a multi-screen TV setup, allowing players to enjoy a more immersive viewing experience. By strategically placing multiple painting blocks, each acting as an individual screen, and synchronising their activation through a complex redstone circuit, Minecraft enthusiasts can craft an impressive, large-scale television display.
Moving TV Screens
Another advanced design feature involves creating TVs with moving screens. Using pistons, redstone, and clever programming, players can design screens that slide, rotate, or even rise and fall, adding a dynamic and engaging element to their television setups. This can be particularly effective when combined with custom-made movies or animations displayed on the screen.
Command Block TVs
For the most technically-inclined Minecraft players, the integration of command blocks opens up a whole new realm of TV customisation and interactivity. By utilising the command block’s powerful scripting capabilities, enthusiasts can create TVs that respond to voice commands, display real-time data, or even interact with other in-game systems, blurring the lines between entertainment and functionality.
These advanced TV designs showcase the remarkable creativity and ingenuity that Minecraft players can unleash when exploring the game’s boundless possibilities. By combining their technical skills, design flair, and imagination, they can transform their entertainment spaces into truly remarkable and captivating experiences.
Conclusion
This guide has provided a comprehensive overview of how to build a functional, redstone-powered TV within Minecraft. By following the step-by-step instructions, players can create their own custom TV setups, complete with remote controls, decorative elements, and even advanced features like multi-screen displays or moving screens. With the wide range of materials and redstone components available in Minecraft, the possibilities for TV design are truly endless.
Whether you’re a seasoned Minecraft enthusiast or a newcomer to the game, this tutorial has offered valuable insights and practical guidance to help you unleash your creativity and construct your very own television within the virtual world. From selecting the necessary materials to enhancing the final product, the guide has covered all the essential steps to ensure a successful and visually appealing TV project.
So, grab your building blocks, activate your redstone circuits, and let your imagination soar as you embark on your journey to create the ultimate Minecraft TV experience. The possibilities are limitless, and the satisfaction of seeing your creation come to life is truly rewarding. Happy building!
FAQ
Is it possible to build a TV in Survival mode?
While it is possible to construct a TV in Survival mode, the tutorial recommends starting a new game in Creative mode to gather the necessary resources more easily.
Can you customize the TV’s appearance in Minecraft?
Yes, you can further improve the TV’s appearance by building a box around the back to enclose the setup, hiding the exposed redstone wiring, and adding a frame around the TV screen using a different building material.
What are some advanced TV designs that can be created in Minecraft?
The tutorial explores more advanced TV designs, such as multi-screen TVs, TVs with moving screens, and TVs powered by command blocks for additional functionality and interactivity.

